
Germinating your own seeds can be a rewarding experience. It is a straightforward process that allows you to take control of your garden and can lead to beautiful results. Seeds can be germinated in different environments, depending on the type of plant and the specific conditions needed for germination. Understanding how to germinate your seeds is essential for a successful gardening venture.
What is a Garden Nursery?
In a garden nursery, seedlings are produced and grown to a suitable size before transplanting to a garden, grow box, raised bed, or landscape.
Reasons for Sowing Seeds in a Nursery
Seeds are sown in a nursery for two primary reasons:
1. The seeds are very small.
2. The seedlings are very delicate.
1. The seeds are very small.
2. The seedlings are very delicate.
Germinating seeds in a nursery also provides several advantages, as it offers a controlled environment and protection from harsh weather conditions, pests, and diseases.
The Nursery Shed
The nursery shed should include the following features:
- A concrete floor
- A clear plastic sheet covering the roof to protect seedlings from heavy rainfall while allowing light to enter the nursery
- Hedges or trees surrounding the nursery to shield young plants from strong, drying winds
- Stands for placing seedboxes and keeping them elevated off the ground.
- A consistent supply of water
- Tools and equipment, as well as a supply of potting soil.
Potting or Nursery Soil (Soil used to raise seedlings) should:-
- be free from weeds, pests, and plant diseases
- be well aerated
- drain readily
- have adequate nutrients
A Good potting mix might contain a mixture of:-
1. Peat moss - for moisture retention and aeration of the potting mix.
2. Coconut coir - for moisture retention and aeration of the potting mix.
3. Perlite - for improved drainage
4. Vermiculite - for moisture retention and strong root development of seedlings
5. Organic matter/compost/worm castings - for nutrients
6. Sand - for improved drainage
You can also use commercially available potting mixes that have been specially formulated.
The Seedbox or Seed Tray
Wooden seed boxes are typically 35cm x 25cm x 7cm and have slits at the base for drainage.
Styrofoam and plastic seed trays are also available as alternatives to wooden seed boxes. They come with separate compartments for sowing seeds and have small drainage holes at the base.

The Seedbox, as well as the piece of wood that is being used for firming the potting soil.
 |
| Plastic Seed Tray |
Seedbox Preparation
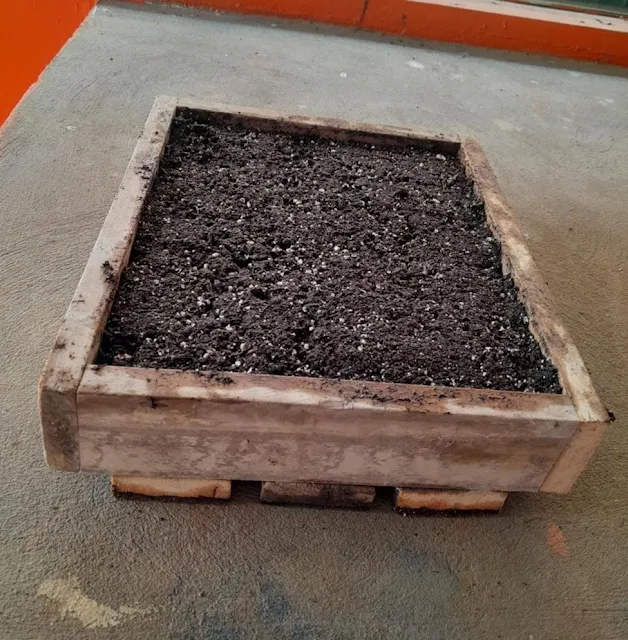
A well-prepared seed box contains adequate potting soil that is well-drained and aerated.
Steps:
- A thin layer of straw or a piece of nylon mesh should be placed at the bottom of the seed box to cover slits and prevent potting soil from falling through
- Place a 3-4cm layer of moistened potting soil into the seed box.
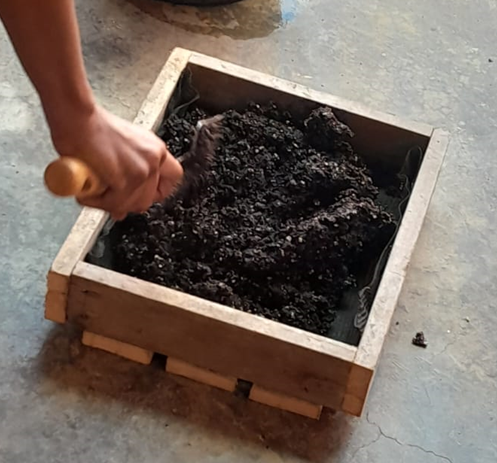
- Remove excess potting soil using a piece of wood.
- Firm the potting soil to a depth of 1-1.5cm from the top of the box.

Nylon mesh is used to cover slits and prevent the growing medium from falling through.
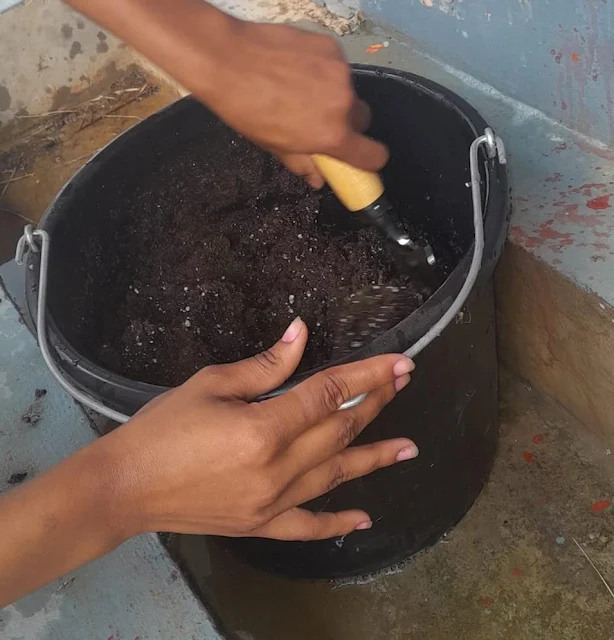
Moistening the potting soil with water
Placing the moistened potting soil into the wooden seedbox
Potting soil is firmed to a depth of 1.5cm from the top of the seedbox
 |
| Nylon mesh is used to cover slits and prevent the growing medium from falling through. |


Sowing Seeds
Steps
- Sow seeds either in long rows or by broadcasting over the entire soil surface
- Lightly cover seeds with a layer of finely sifted nursery soil.
- Gently water the seeds.
- Label the boxes with the name of the seeds and the date of sowing.
- Cover seedboxes and place them in a cool, sheltered area to await germination.
- Water occasionally before germination to prevent the soil from drying out.
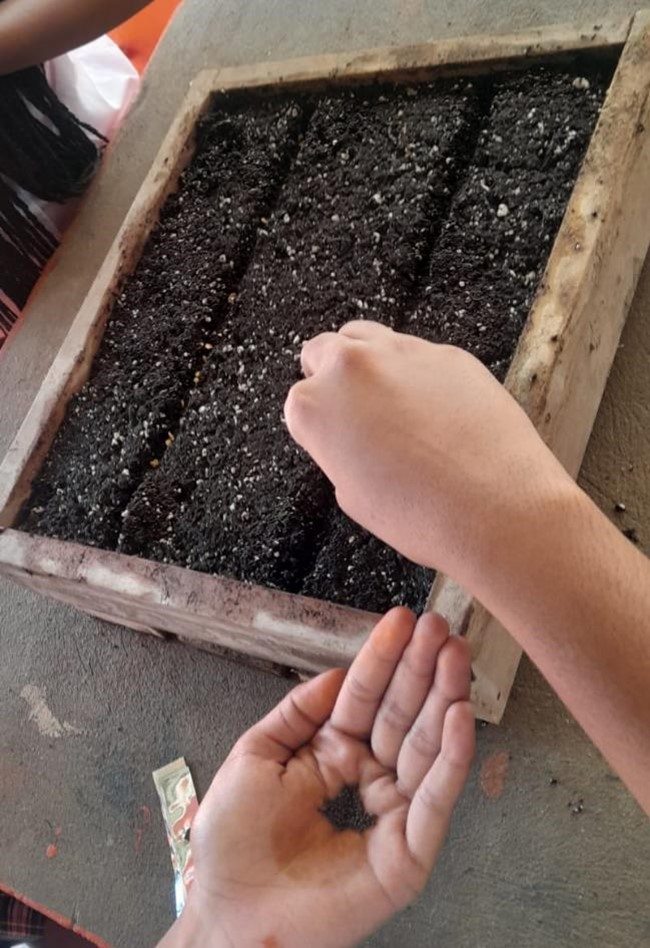 |
| Sowing seeds in long straight rows in the seedbox. |
 |
| Covering seedlings with nursery soil. |
Germination
Germination should take 6-8 days, but it differs depending on the species of seed sown. When 70-75% of the seeds have germinated, the covering is removed, and the seedlings are exposed to light.
 |
| Germination of seeds |
Post-germination Care
Thinning out
Seedlings are thinned out at the 2-3 leaf stage
 |
| Thinning out seedlings |
Aftercare
- Watering
- Soil aeration
- Weed control
- Application of fertilizers
- Pest and disease control
Hardening off
Seedlings are hardened off about 1 week before transplanting into the field by:
- less frequent watering
- allowing the soil to dry out
- exposing seedlings to sun and rainfall
After hardening off, young plants are taken out of seed boxes, and pots or lifted from nursery beds and replanted in the field at their correct spacing.
The work changed into very thoughtfully achieved and you could tell how thorough and professional the task becomes.
ReplyDeleteThe work changed into very thoughtfully achieved and you could tell how thorough and professional the task becomes.
ReplyDelete